Set up a continuous deployment pipeline using CodePipeline and Elastic Beanstalk
What is AWS Code Pipeline?
As per the AWS official website, AWS CodePipeline is a fully managed continuous delivery service that helps you automate your release pipelines for fast and reliable application and infrastructure updates. CodePipeline automates the build, test, and deploy phases of your release process every time there is a code change, based on the release model you define.
Now, what is AWS Elastic Beanstalk?
Again as per the website, AWS Elastic Beanstalk is an easy-to-use service for deploying and scaling web applications and services.
In simple words upload your code and Elastic Beanstalk automatically handles the deployment, from capacity provisioning, load balancing, and auto-scaling to application health monitoring.
Let's get it started...
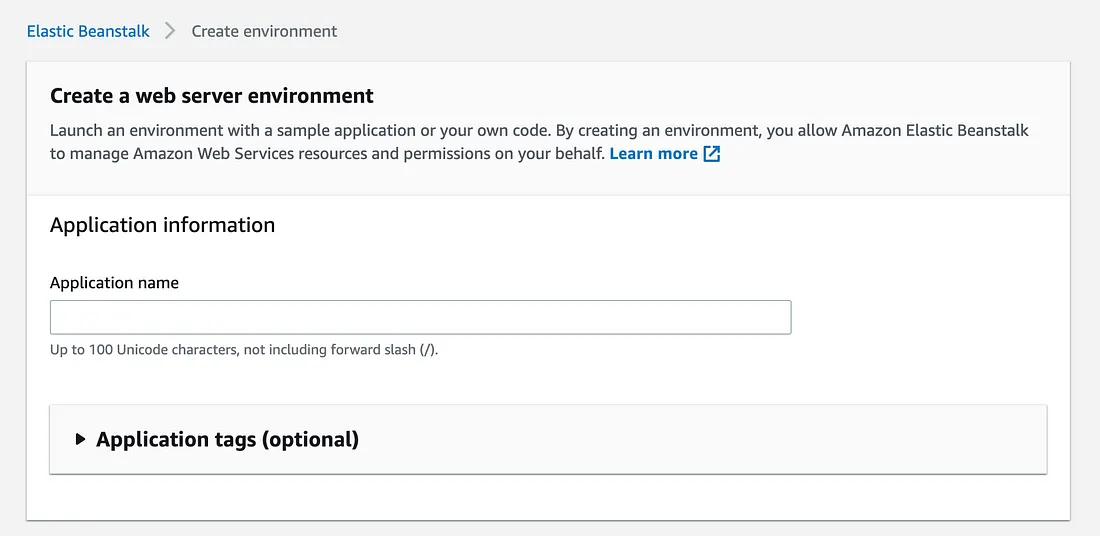
So for creating an application, head to the elastic beanstalk and click "Create Application".
Provide the essential details such as the app name, platform (e.g. Node.js, Java, go etc.), select the platform version and then click on "Create Environment".
This will start the provisioning of resources for your application (creating ec2 instance, security group, log group etc.);
Bla bla bla...
7:17am Environment update is starting.
7:16am Environment health has transitioned from Pending to Ok. Initialization completed 7 seconds ago and took 3 minutes.
7:16am Successfully launched environment: Unifiedapicoreprod-env-1
7:16am Application available at <your provided name>.us-east-1.elasticbeanstalk.com.
7:16am Instance deployment completed successfully.
7:15am Added instance [i-08**b6d352aa] to your environment.
7:15am Waiting for EC2 instances to launch. This may take a few minutes.
7:14am Environment health has transitioned to Pending. Initialization in progress (running for 37 seconds). There are no instances.
7:14am Created EIP: 44.***.70.***
7:13am Created security group named: shhh_koi_hai_security_group
7:13am createEnvironment is starting.
Meanwhile, grab something to eat and relax as this will take a few minutes.
After it's done, you will see a page like this. Which shows your sample application has been successfully created.
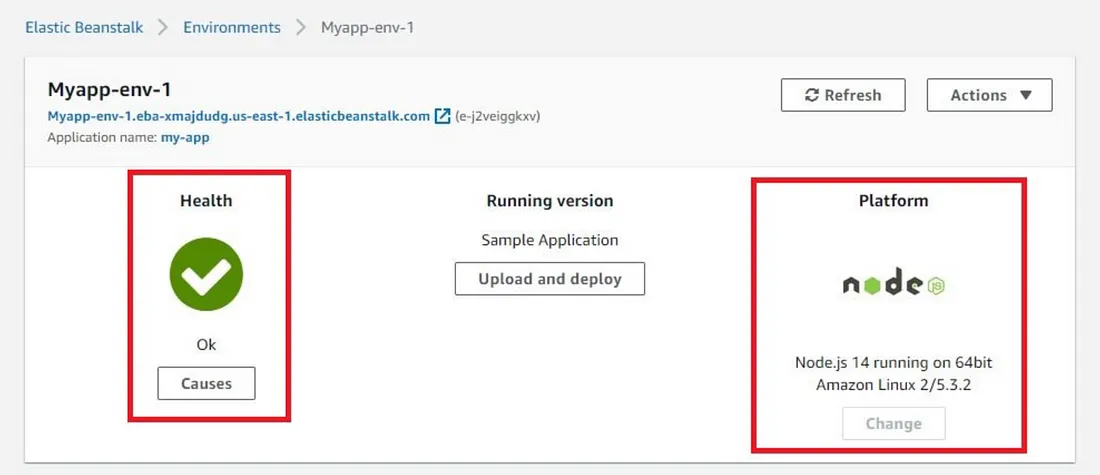
Here our first task is done, we have created a sample EBS application. The second task on our bucket list is to create a code pipeline for CI/CD.
Now head over to the AWS CodePipeline service.
Step 1: Select "Create Pipeline" and give a beautiful name to your pipeline.
Step 2: "Most Important One" Add source stage
Select GitHub version 2 here and do the basic authentication using your GitHub account.
Provide your source repo and the branch that you want to deploy.
Step 3: "Again, an important one" Add deploy stage
As we are using EBS as the environment provided for our application, make sure you select EBS and the exact environment name.
You can see how we have connected all the three services in step2 and step3.
Now hit "Create pipeline."
This will create a pipeline for you, which shows the GitHub in the source stage and our AWS EBS in the deploy stage.

Just a sample image for you to understand :)
Now the final and most awaited step...
Just kidding, everything is done, and you are good to go now.
So whenever you push any changes in your GitHub repo, the pipeline will start the auto-deployment on the EBS stack. And using the environment URL in your EBS application, you can test your APIs, see UI changes etc.
That's it!!
Thanks for reading, folks :)